Learn how to make takoyaki step by step—from pouring the batter to flipping each piece just right.
No worries if it’s your first time! We’ll guide you through it gently and joyfully.
Takoyaki Cooking Guide
Step 1 Pour the Batter Gently
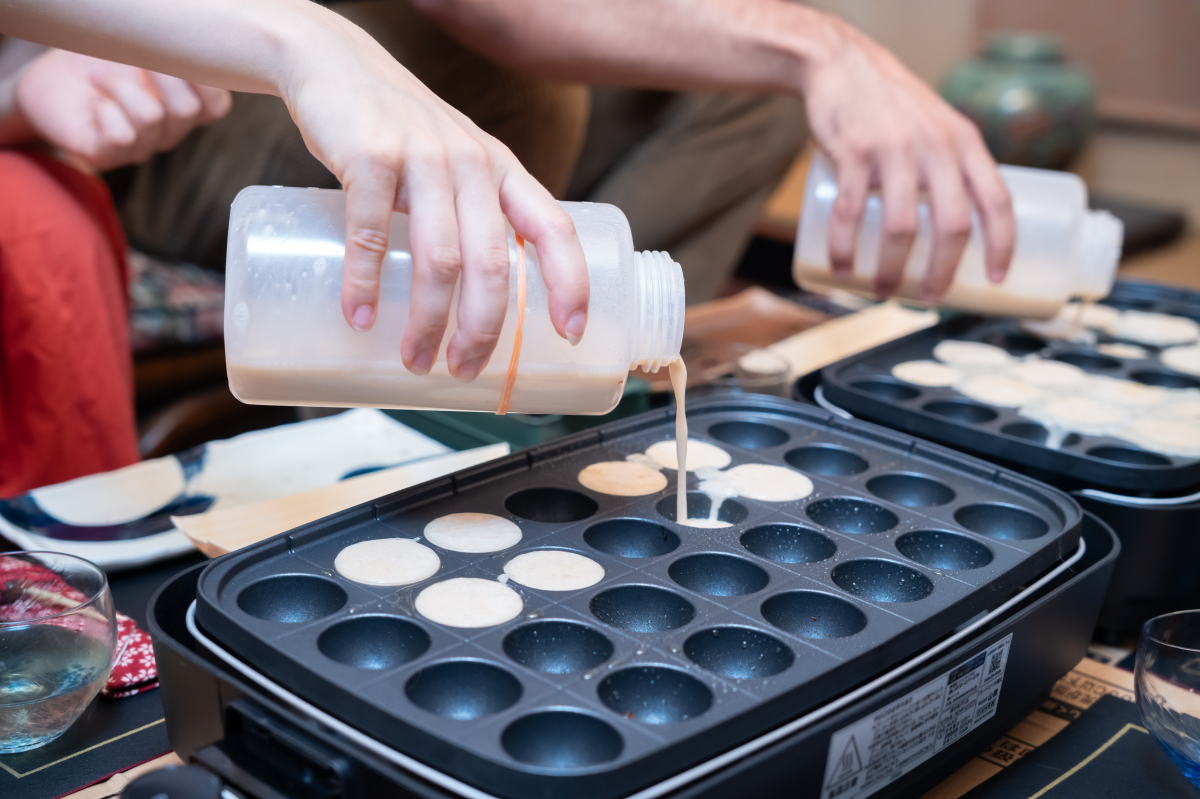
We’ll oil the takoyaki pan with rice bran oil. Slowly pour the batter into the 8 prepared holes until it slightly overflows around the edges.
→ Both regular and vegetarian takoyaki use rice bran oil.
Step 2: Add the Ingredients
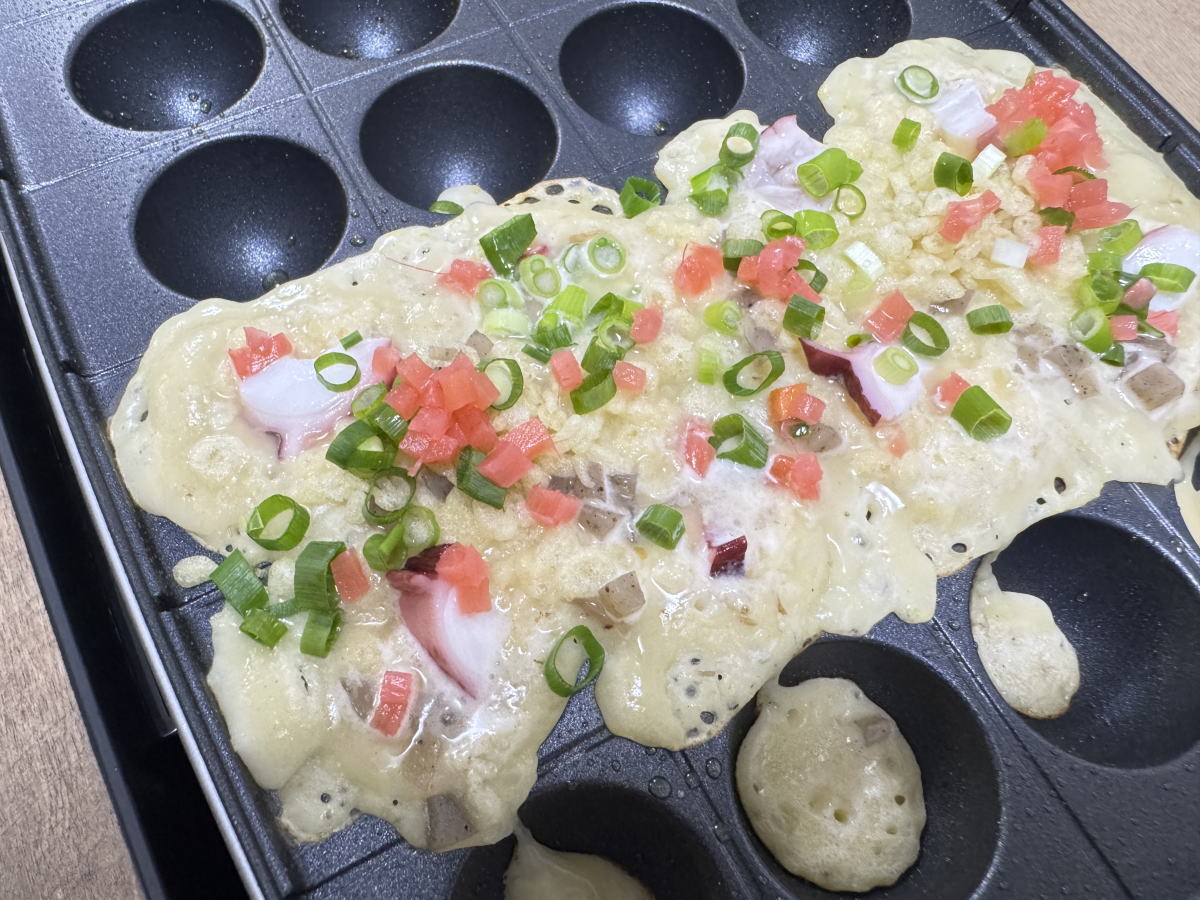
Now it’s time to add the fillings!
- Basic Takoyaki: 1 piece of octopus per hole
- Beef Tendon: 3 pieces of beef tendon per hole
- Tomato Ball (Vegetarian): 3 pieces of dried tomato and 2 pieces of shiitake per hole
Add the other ingredients, like pickled ginger and green onions, by sprinkling them evenly over the batter.
The goal is to have a little bit of each in every takoyaki!
(Please save half of each topping—except for tempura flakes—for the next batch.)
Step 3 Mark and Divide Lightly
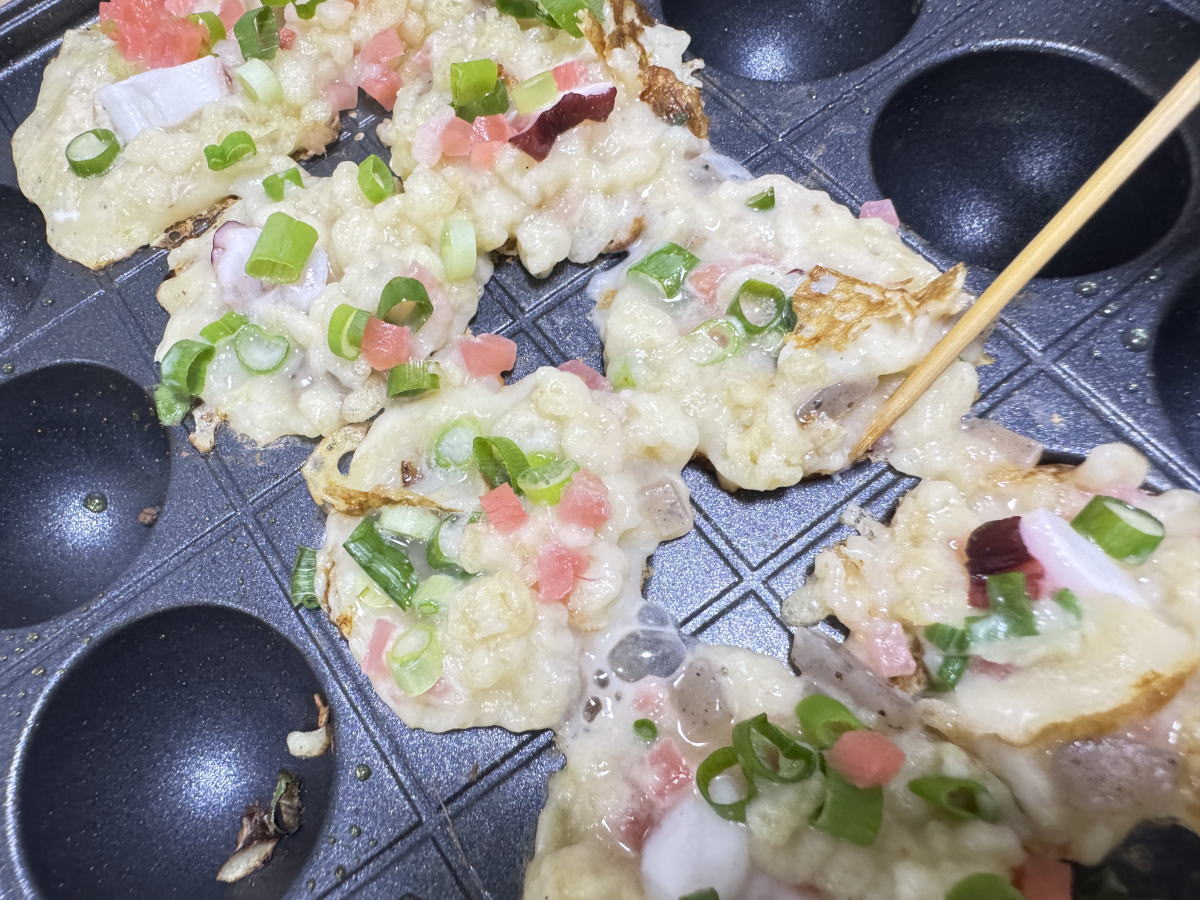
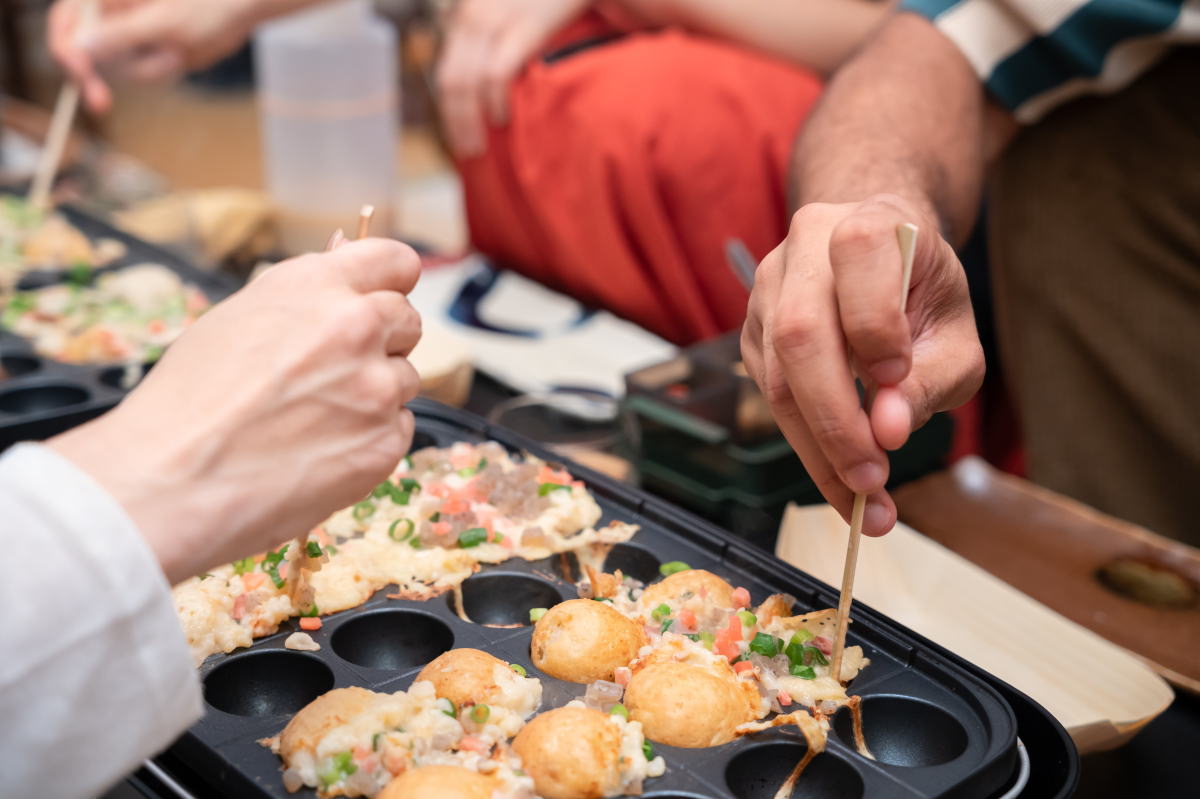
Use a pick to draw vertical and horizontal lines between the rows. While doing that, gently push the overflowing batter back into the center of each hole.
You won’t be able to divide them completely yet—and that’s totally fine!
They’ll start to form a round shape as they cook. Just like this ↓

Step 4 Once the Surface is Cooked, Rotate 90 Degrees

Once the surface is cooked, gently rotate each takoyaki 90 degrees.
Turn them all sideways so they’re lying on their sides.
Instead of stabbing them, slide the bamboo pick between the ball and the pan,
then roll them by gliding the pick along the hot plate. That’s the key.
At this stage, also use the pick to push in any batter or fillings that overflowed.
Step 5 The Takoyaki Shuffle
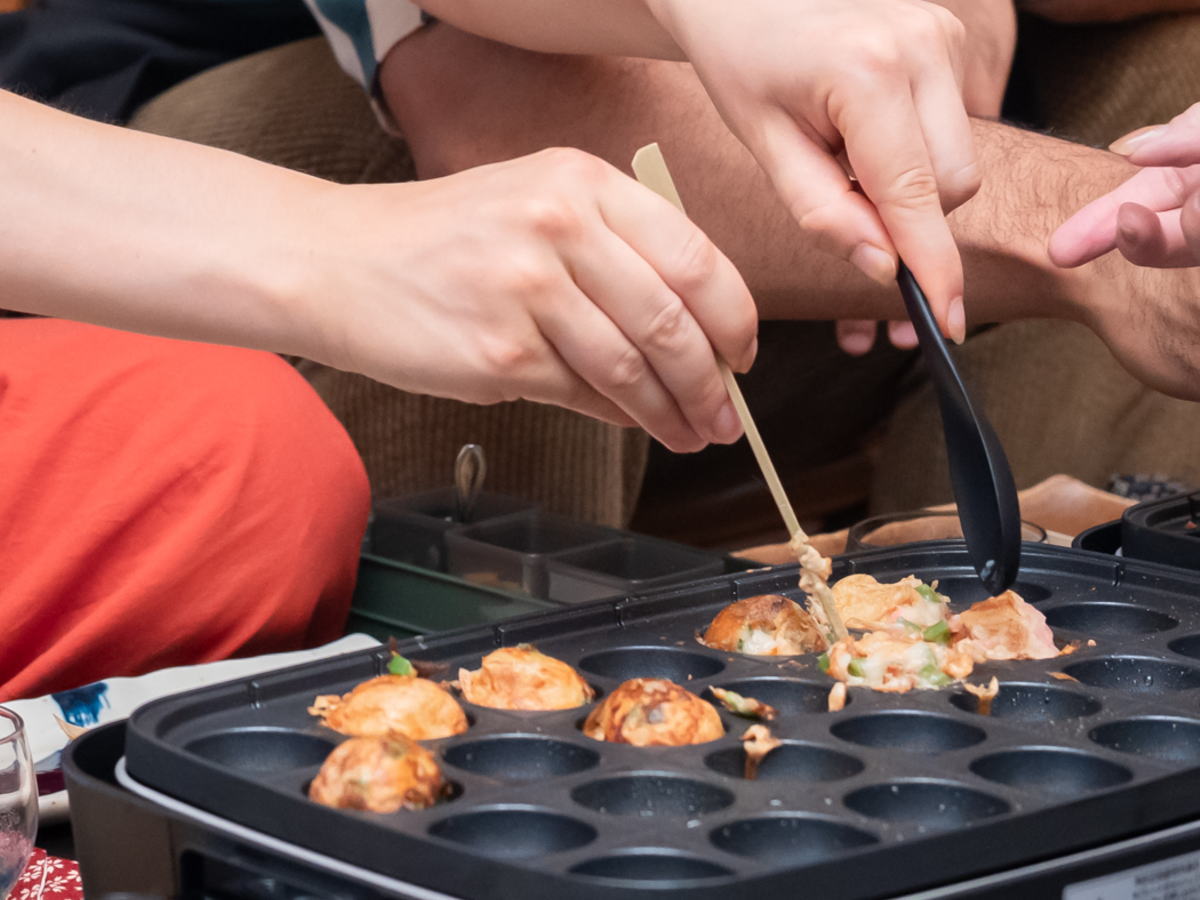
In Japanese homes, electric takoyaki pans heat a little unevenly — some spots get hotter than others.
Figuring out which areas cook faster and swapping the balls around is all part of the fun!
Try moving the well-cooked ones out and sliding the softer ones into the hotter spots.
And if they’re too soft to flip with a pick, don’t worry — using a spoon is totally fine too!
※ Note:
Some people use gas-powered takoyaki pans, but most Japanese households use electric ones.
Professional shops usually prefer gas for its stronger heat.
At Tako no Ma, we use an electric pan for safety and to make it more comfortable for beginners.
Step 6: Turn all the uncooked sides downward and start rotating
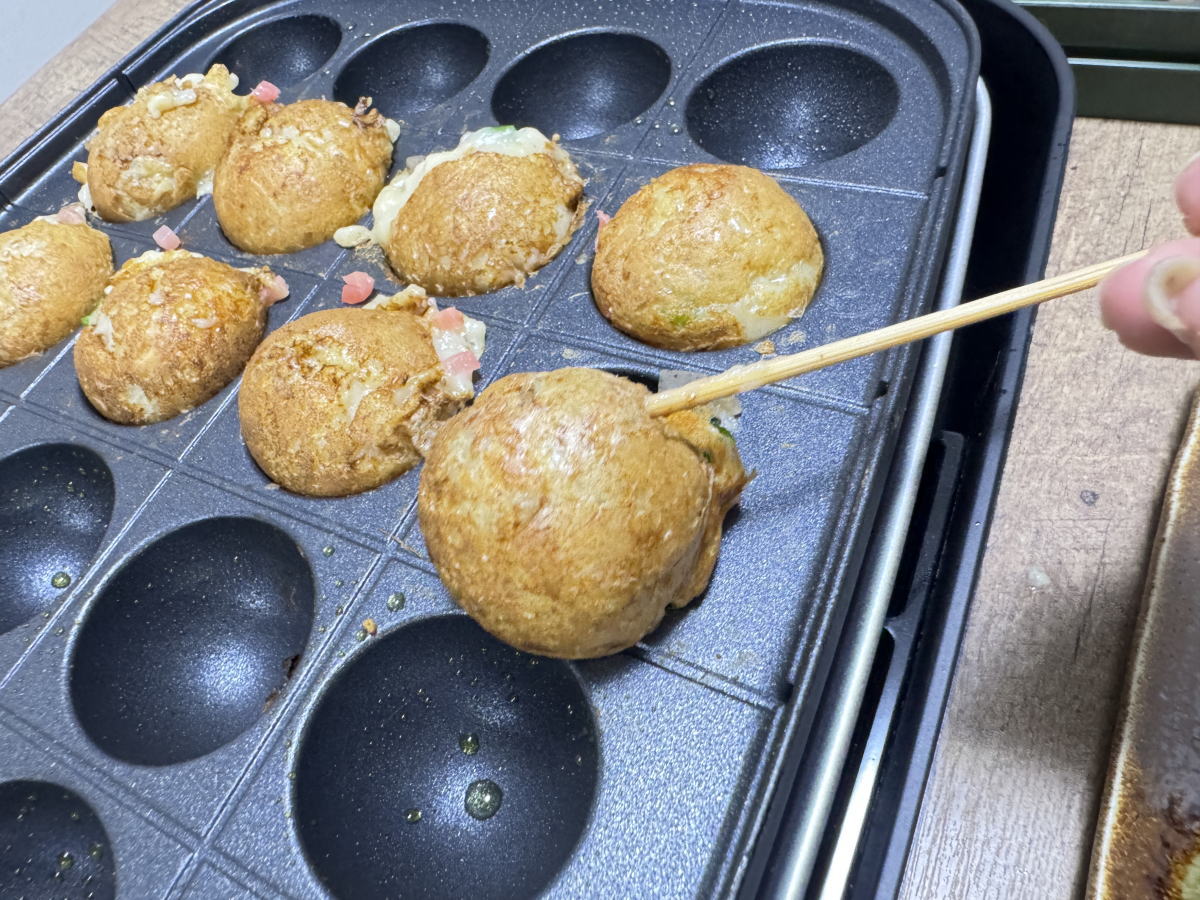
Start by turning all the uncooked sides downward.
As you rotate each one, gently push in any overflowing batter or fillings.
Once that’s done, begin rotating each takoyaki little by little to shape them into nice round balls.
🔥 And don’t forget to shuffle!
Move the less-cooked ones to hotter spots and vice versa.
This helps everything cook evenly — crispy on the outside, soft inside.
Step 7: Some Takoyaki Are Ready — Time to Eat!
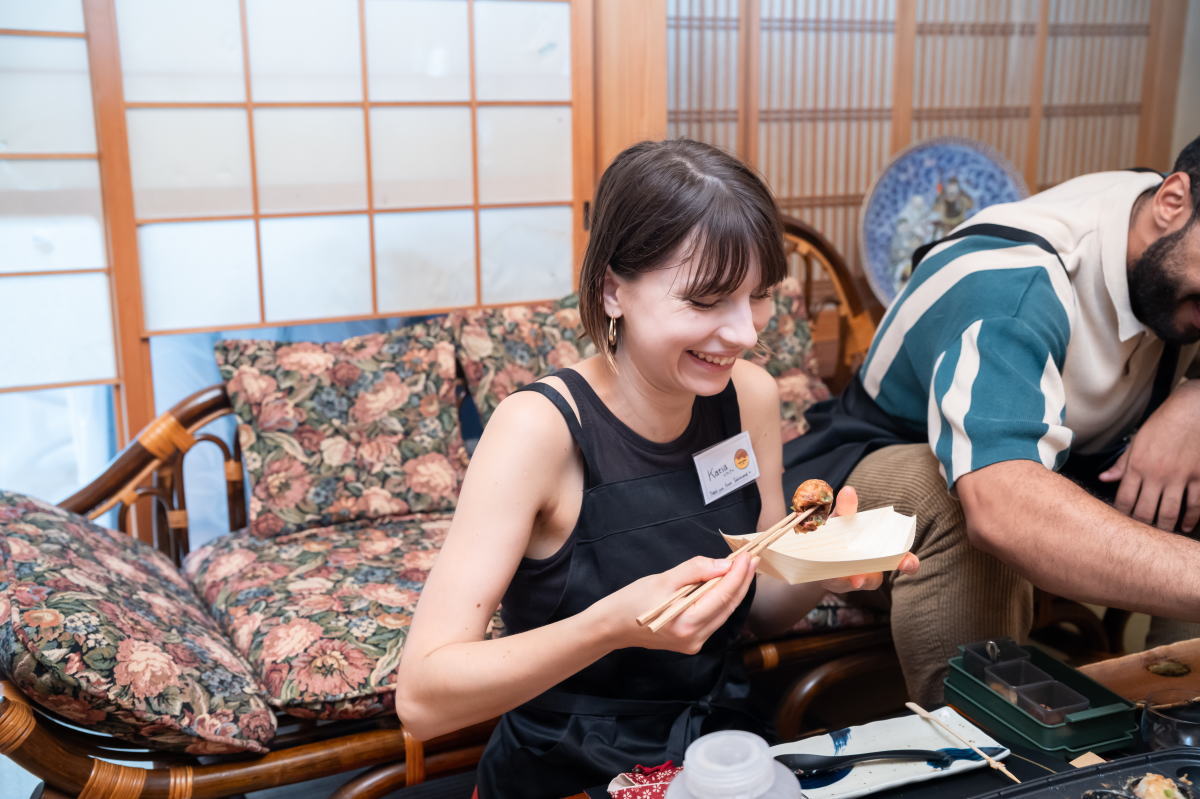
Some of your takoyaki are probably ready by now!
Go ahead and take a bite of the ones that are done.
Put them on a plate, enjoy eating, and while you do, keep turning the rest to make them perfectly round.
Cook, eat, laugh…
That’s the joy of homemade takoyaki!
Be careful—it’s extremely hot inside!
You can cut it in half first to check the inside before eating.
Step 8 Take a photo to remember!

If you’d like a photo to remember the moment, we recommend taking it during the second round.
For the first batch, we want you to focus on enjoying the fresh, hot takoyaki!
In the second round, once your takoyaki are plated or in a little takoyaki boat, snap a picture 📸
We’ll be happy to take a group photo for you using your phone — just let us know!
